Showing posts with label Astroworld. Show all posts

Sunday, March 22, 2026

A Deeper Look at M1: Discovering the Crab Pulsar in My Own Data

 And back we go to Super Bowl Sunday at the BMO ...

The Crab Nebula is one of the most studied objects in the night sky—but during the processing of this image, I realized I had captured something I didn’t expect at all: the Crab Pulsar itself.

On Sunday February 8, 2026, while I and another member were imaging the Horsehead and Flame (click here for that post) with the Tele Vue NP101is, our observatory director was imaging M1, The Crab Nebula on the Celestron 14" Edge HD. He was imaging with UV/IR Cut filter. This is a broadband filter, it is sometimes referred to as a luminance filter. I processed that data into an RGB or broadband image. This standalone RGB image is the second image in this post, because I was able (with help) to combine the RGB data with some narrowband data we collected in 2024.

On February 3, 2024 we captured data on M1 with the same telescope, a different brand camera with the same sensor type, and a dual narrowband filer that only captured the light from Hydrogen-alpha (Ha) and Doubly Ionized Oxygen (Oiii). Click here to view that post. After processing this dual narrowband data, I separated this image into separate Ha and Oiii images. The Ha and Oiii data was then combined with the RGB data from 2/8/2026 to produce this RGBHaOiii image.

Image 1: RGB + Ha+ Oiii Composite

A detailed astrophotograph of the Crab Nebula (Messier 1), a supernova remnant in Taurus. The nebula forms a tangled, web‑like structure of glowing filaments. Hydrogen‑alpha emission appears in bright pink and red strands, while OIII emission shows as blue‑green wisps woven throughout the cloud. The center glows more intensely, hinting at the energetic pulsar hidden within. Surrounding the nebula is a dense star field set against a dark background, giving the scene depth and contrast.
RGB plus HA and Oiii image of M1. A combination of data from 2026 and 2024.

Image 2: Standalone Broadband RGB

The RGB (broadband) image of M1 from 2/8/2026 at the BMO

Going down a Rabbit Hole 

I was reading an article on Universe Today on the Pulsar in the Crab Nebula on the Universe Today website (click here to go to the article). In the article there was a visible light image and the Crab Pulsar was visible. I had no idea the Crab Pulsar could would be detectable in an image. Could it be in the image of M1? 

Identifying the Crab Pulsar in my Image

I fired up PixInsight and visually compared my image to the image in the article. I was able to match up the stars in my image with the stars in the image in the article. There is a script in the Seti Astro grouping of scripts in PixInsight that identifies objects in your image. The script is called "What's in my image". It uses the astrometric solution of the image to identify the objects contained within it. I was able to create a search area around the star that matched the Crab Pulsar in the image in the article. The script, it confirms this is the Crab pulsar (see screenshot below). 

This is very exciting! I never imagined it was possible to capture the Crab Pulsar with amateur equipment! The Crab Nebula and the Crab Pulsar have been important objects to astronomy and astrophysics. I remember first learning about them as a child from Carl Sagan's Cosmos TV series and the companion book. To have not only captured the nebula (expected) but to have have also captured the Crab Pulsar is very exciting to me. 

Image 3: Screenshot from "What's in my image" script. 

A screenshot from PixInsight of the What's in My Image script result showing the Crab Pulsar. 

Image 4: Inset indicating location of Crab Pulsar in the image

This cropped and annotated inset indicates the location of the Crab Pulsar in the image.

Observatory

Both sets of images were captured at the Buffalo Astronomical Association's (BAA) Beaver Meadow Observatory (BMO). The BMO is located about 45 minutes southeast of Buffalo, NY in rural farm country. Our club's observatory is on the property of the Buffalo Audubon Society, near their Trillium Nature Center. We hold monthly Public Nights at the observatory on the first Saturday of the month, April through October. Note: July's Public night has been moved to July 18th as the 1st Saturday in July is Independence Day. 

Both the RGB and narrowband images of M1 were captured with our Celestron 14" Edge HD shown in the photo and video below. 

Image 5: Picture of the telescope used to capture the images of M1

Our club's Celestron 14" Edge HD Telescope on the Astro Physics AP1200 mount.

Image 6: A short video of the telescope slewing

What is it?

M1 is a supernova remnant. Humans observed the Supernova when it occurred in 1054. It was recorded by Chinese astronomers, and it appears that the event is also depicted in Petroglyphs in Arizona and New Mexico. The Chinese astronomers referred to it as a "Guest Star". it was visible during the day for 23 days and was visible at night for 653 days. The supernova also left behind a stellar remnant known as a Pulsar. The Crab Pulsar rotates 30.2 times per second. The nebula is expanding at a rate of 1,800 km/sec.

Image 7: An annotated version of the image of M1


An annotated version of the image of M1.

How big is it?

This object has an angular distance of 6 x 4 arcminutes (1 degree is 60 arcminutes) on the night sky. The object is 13 x 11 light-years (ly) across. 

How far is it?

It is located about 6,300 light-years (ly) from Earth in the Constellation Taurus.

How to find it?

This object is relatively easy to find. It's very close to the bright star Zeta Tauri in the constellation Taurus. Refer to the finder chart below. This is a great visual target. It can be seen in binoculars and small telescopes. Dark skies help as it is it can get lost in light polluted skies. Larger aperture helps significantly. Although visible in smaller instruments, I believe it is far more interesting to observe in large aperture scopes. Nebula filters can aid in viewing this object.

Image 8: A finder chart for M1

Finder chart for M1.

Processing:

In short, the workflow involved many of the usual processing elements gradient removal, deconvolution, noise reduction, star separation, narrowband blending, and final HDR balancing with blending in the narrowband data to the RGB data. Detailed steps follow for those interested.

I was able to process both the RGB and the narrowband images into pleasing images separately. I struggled with getting a good result when trying to combine the Ha and Oiii from the narrowband image with the RGB image. I reached out to my friends at the YouTube channel AstroWorld TV for help. They invited me on and we worked on processing the image on the episode 503 of the show. I did make a few minor edits after the show as the image appeared too bright when viewed on devices other than the laptop I processed it on. Thank you to the team at AstroWorld TV for their help! Especially Super Dave!

Image 9: A screenshot of YouTube episode 503 of AstroWorld TV

The RGBHaOiii image of M1 was processed with help from my friends at AstroWorld TV.

Narrowband Image:

Gradient removed with GraXpert. The narrowband image was aligned to the RGB image with Star Alignment. The registered image was cropped using Dynamic Crop and the instance of the process was saved to the desktop so it could be used to duplicate the crop the RGB image. BlurXTerminator was used for deconvolution and the stars were removed with StarXTerminator. We did not save the narrowband stars. Noise was reduced with NoiseXTerminator. The image was made non-linear with Generalized Hyperbolic Stretch. Non-linear processing: The image was separated into the R, G, & B channels using Channel Extraction. The R image was used as the Ha image and the B & G images were averaged together to become the Oiii image. We tried performing Continuum Subtraction on the Ha & Oiii images, but did not get good results.

RGB Image:

Gradient was removed with GraXpert. The image was cropped to duplicate the narrowband images with the saved instance of Dynamic Crop. BlurXTerminator was performed in correct only mode. color calibration was performed with SPCC. BlurXterminator was used for deconvolution. The stars were removed (and saved) with StarXTerminator. Starless linear processing: The image was made non-linear with Generalized Hyperbolic Stretch.

Starless non-linear processing: The image blend script was used twice to blend in the Ha and Oiii to the RGB base image. Image blend was used for sharpening by using the high pass filter. CT was used to enhance color and color saturation.

Stars: Stars were stretched with Seti Astro's Star Stretch script. CT was used to enhance color and saturation.

Final: The stars were screened back into the starless image with PixelMath. After the show, I viewed the image on several devices and decided it was too bright. I used the CreateHDRImage script to tone down the core. 

RGB Image Details:

Capture Date: 02/08/2026
Location: Beaver Meadow Observatory (North Java, NY)
Telescope: Celestron 14" Edge HD w/0.7x Reducer
Camera: OGMA AP26CC
Filter: OGMA 2" UV/IR Cut
Mount: Astro Physics AP-1200
Exposure: 19 exposures at 300 sec / Gain 100 / Offset 50 / -25°C each for a total exposure of 1 hour and 35 minutes.
Software: NINA, PHD2, and PixInsight

      Narrowband Image Details:

      Capture Date: 02/03/2024
      Location: Beaver Meadow Observatory (North Java, NY)
      Telescope: Celestron 14" Edge HD w/0.7x Reducer
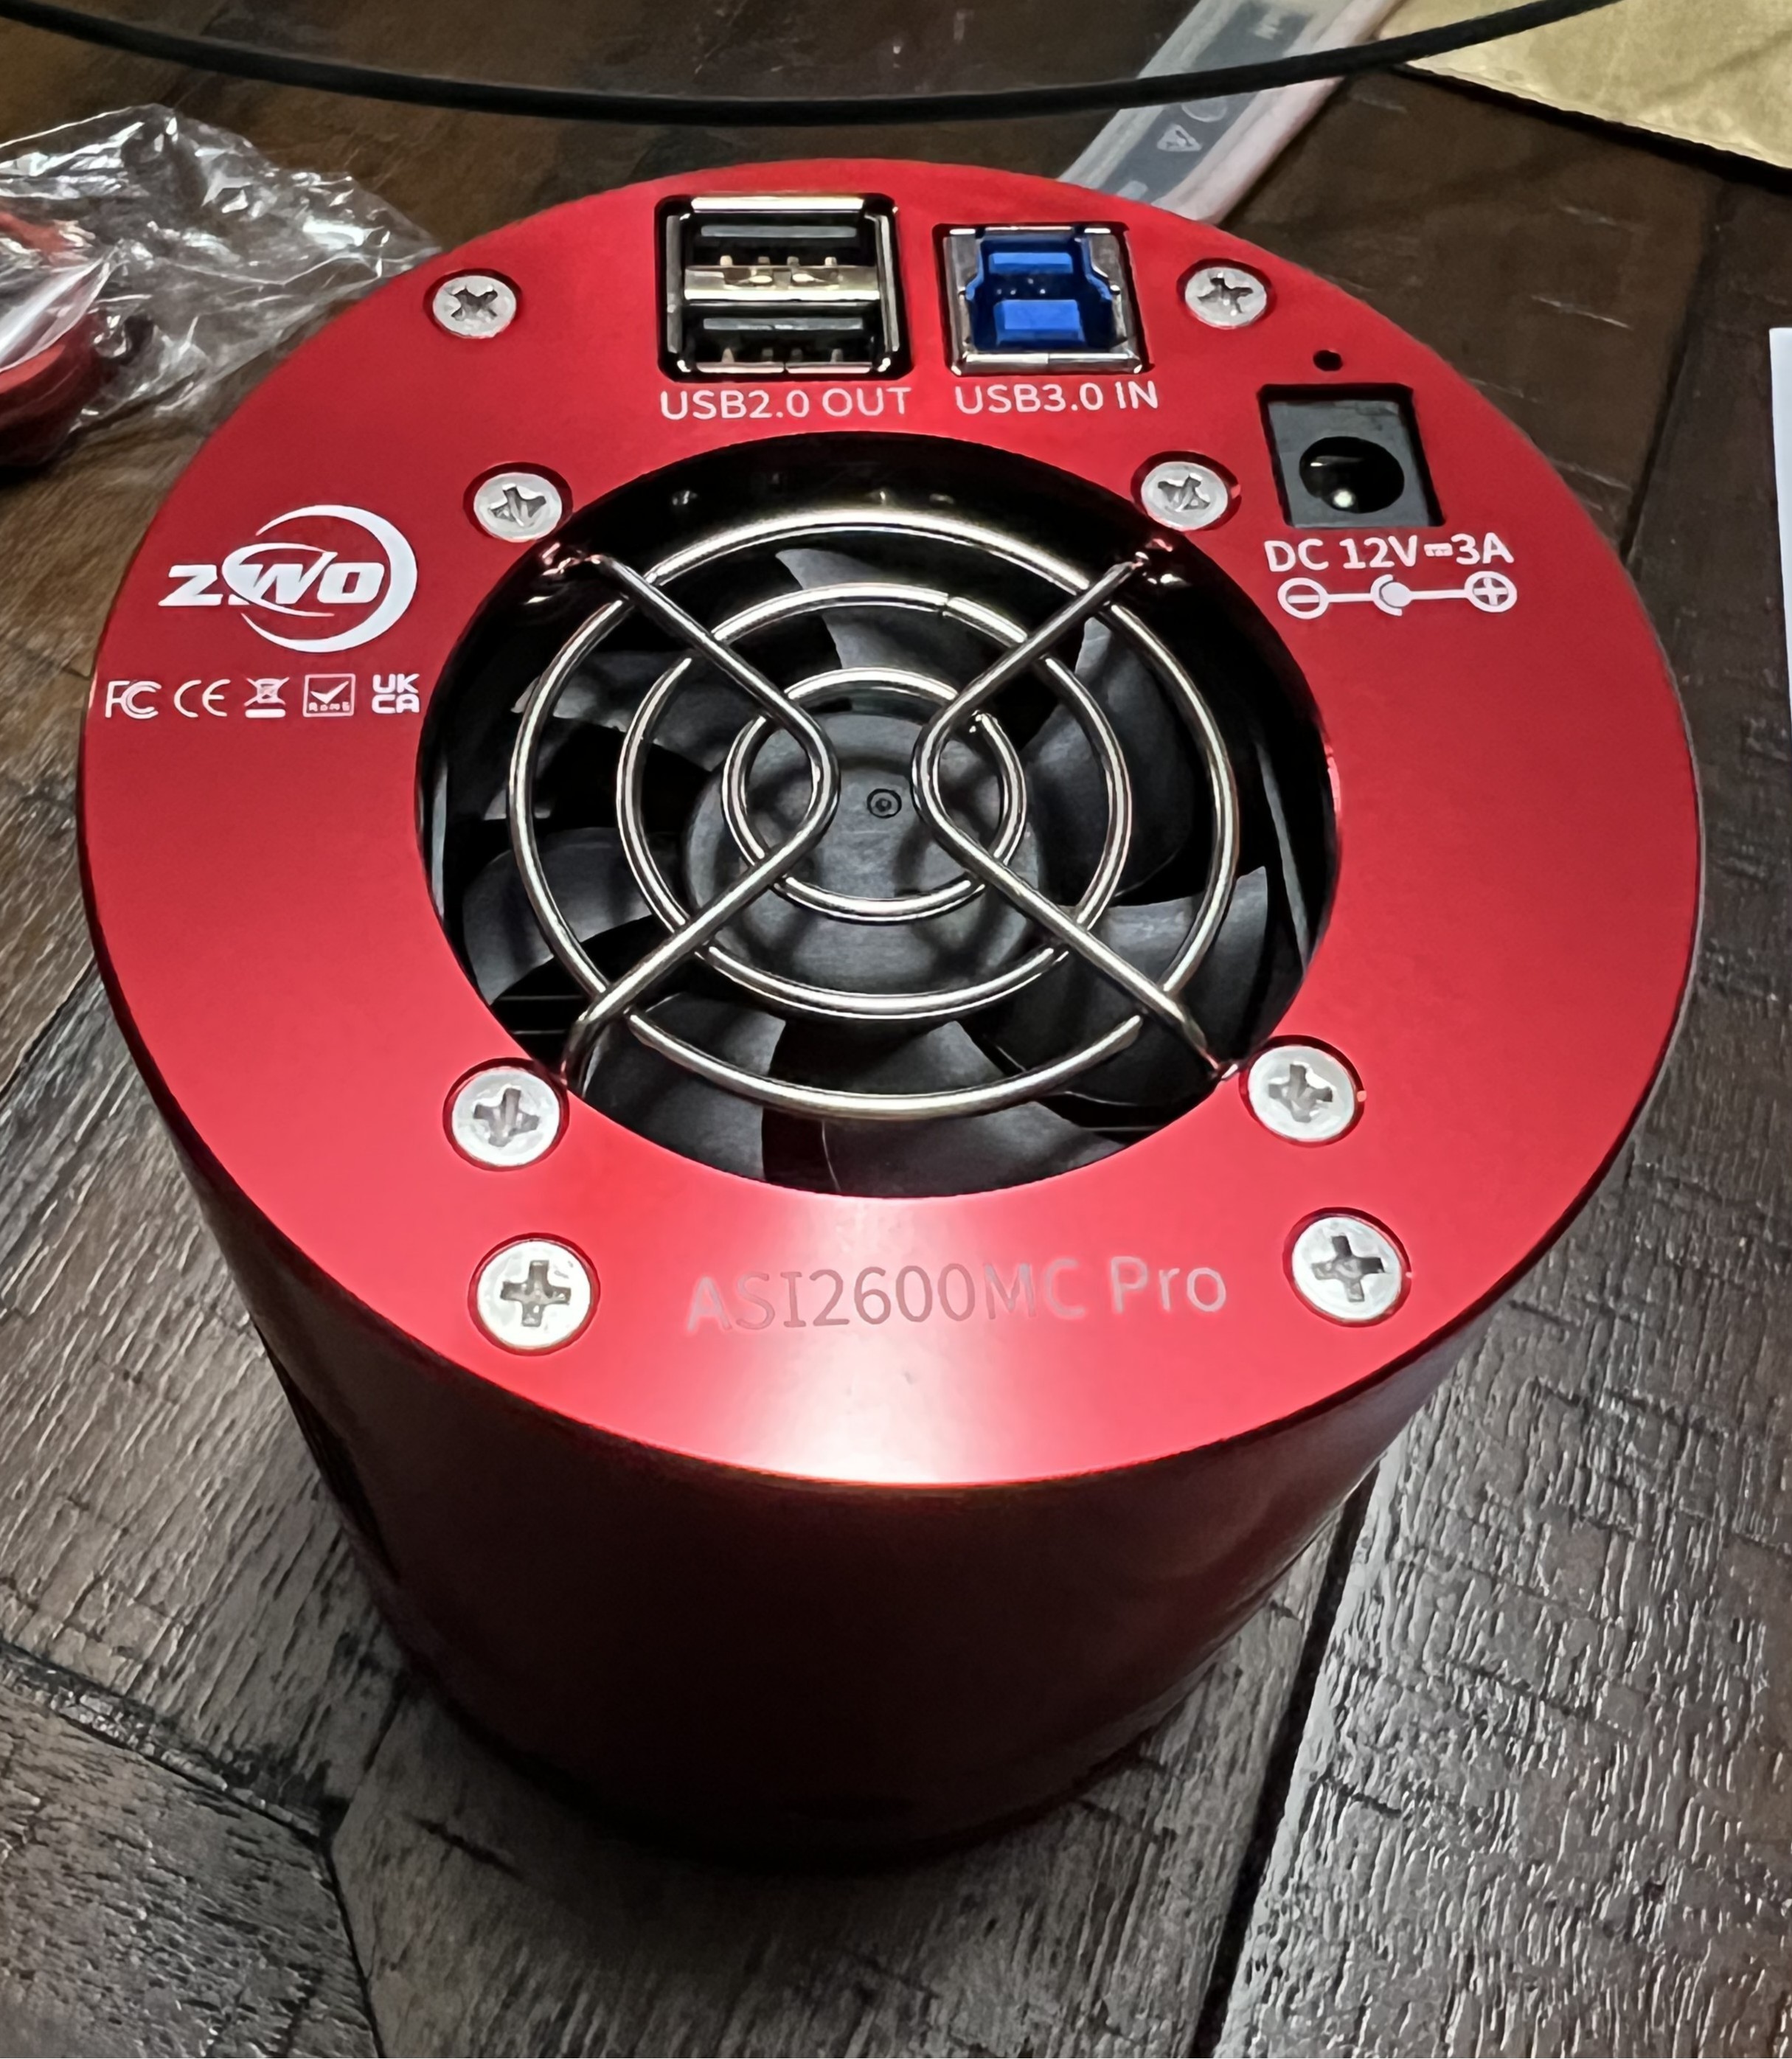
      Camera: ZWO ASI2600MC Pro
      Filter: Optolong l-eXtreme 
      Mount: Astro Physics AP-1200
      Exposure: 13 exposures at 600 sec / Gain 100 / Offset 50 / -10°C each for a total exposure of 2 hours and 10 minutes.
      Software: NINA, PHD2, and PixInsight

      Conclusion

      What began as a routine multi‑wavelength image turned into a reminder of how much is still hidden in our data. With careful processing and a bit of curiosity, even well‑known objects like M1 can still surprise us.

      Clear Skies!
      Ernie

      Saturday, April 19, 2025

      Building a “Super” Wide-Field Imaging Rig.

      Super Sizing my Field of View ...

      I have been thinking about and planning my next Astrophotography acquisition for many months. At the end of last year, I made the decision build a “super” wide-field imaging rig. The initial purchase for this project was the telescope, an Askar FMA180 Pro. In addition to the telescope, I also purchased the Askar EAF kit for the FMA180 Pro, Player One Ceres-C Guide Camera, and SvBony 30 mm f/4 Guide Scope. I purchased both items from Astroworld Telescopes around the holidays. Astroworld is a new retailer for astronomy related equipment with a strong focus on astrophotography gear. The company was started around NEAF 2023 by Daniel Higgins. Dan is an astrophotographer himself and in my opinion, he truly provides excellent customer service. The plan is to pair Askar FMA180 Pro with my ZWO  ASI2600MC Pro (APS-C) One Shot Color (OSC) camera. Wait!!! Let me back up for a minute and get into why I'm heading down this path.


      Why Build a “Super” Wide-Field Rig:

      My current primary imaging rig is already somewhat wide-field. I use an Explore Scientific Essential Series ED80 Triplet Refractor with my ZWO ASI2600MC Pro camera. This telescope has an aperture of 80 mm, a focal length of 480 mm, and is f/6.  It is an entry level scope as far as quality goes, it has served me well but long-term plan is to upgrade and use this for visual observer. The 80 mm refractor will make a nice compliment to my 8" Dobsonian. 

      This 80 mm refactor has been perfect for many targets (Orion Nebula, Western Veil Nebula, Eastern Veil Nebula, and many others. The next piece of equipment in my collection that has a wider-field of view (FOV) is my 50 mm lens (the Nifty Fifty) for my DSLR. This is quite a gap and has proven to be a limitation, especially when bright comets with long tails are visible, as was the case this past October. Additionally, I live in Western New York (WNY), not far from Buffalo, NY. The weather here is persistently cloudy, primarily due to our position relative to Lake Erie. Also, I'm very active in our local astronomy club's (Buffalo Astronomical Association) outreach activities, which results in losing some nights to outreach events. Factoring in life's other obligations, I get about one night of imaging a month (on average). This creates a real obstacle for going after mosaics to capture larger objects (entire Cygnus Loop, Heart & Soul nebulae together, etc...). 

      I was looking for telescopes/camera lenses in the 135 mm to 200 mm focal length range. I narrowed my choices down to the Rokinon 135 mm lens and the Askar FMA180 pro. An astronomy pal has let me use his Askar FRA600 telescope while he recovers from shoulder surgery. I'm really impressed with the quality of the optics and the overall quality of the scope. Feedback on the Askar FMA180 pro from other members of my local club and members of the AstroworldTV Discord community helped me come to the decision to go with the Askar. I want to be clear; feedback was positive on the Rokinon lens was positive too. Overall, the Askar won out in my brain. The combination of the Askar FMA180 Pro and the APS-C sized sensor of my ZWO ASI2600MC Pro camera will give me a FOV of about 7.5 degrees by 5 degrees. Here are a few screenshots from the website Telescopius.com Telescope Simulator tool showing how some popular objects will be framed with this setup.


      Equipment Needed for the Build:

      The Telescope: Askar FMA180 Pro. 

      • An apochromatic sextuplet refractor 
      • 40 mm aperture
      • 180 mm Focal Length
      • f/4.5 Focal Ratio
      • New Purchase (Astroworld Telescopes)


      Imaging Camera: ZWO ASI2600MC Pro

      • APS-C sensor (IMX 571)
      • color
      • 3.76 um pixels
      • integrated USB 2.0 Hub
      • USB 3.0
      • Shared with existing rig


      Guide Camera: Player One Ceres-C

      • IMX 224
      • Color (a mono camera would be more sensitive, color is fine for this rig)
      • 3.75 um pixels
      • New Purchase (Astroworld Telescopes)


      Guide Scope: SvBony 30 mm f/4 Guide Scope

      • 30 mm aperture
      • 120 mm Focal length
      • f/4
      • Helical Focuser
      • New Purchase (Astroworld Telescopes)


      Other Items/Accessories:

      • Askar EAF Kit for the FMA180 Pro (New Purchase - Astroworld Telescopes)
      • ZWO EAF (shared with existing rig)
      • Pegasus Astro Powerbox Advance (shared with existing rig)
      • ZWO Filter holder (shared with existing rig)
      • Dew Strips 
      • Losmandy Style Rail to mount everything on 

      Future Items:

      • Apache Case
      • Dedicated Pegasus Astro pocket Powerbox Advanced
      • Mini PC

      Build Status and Next Steps:

      The rig is pretty much ready to go. I need to attach the Pegasus Powerbox (currently on my main imaging rig). I will share my imaging camera and the powerbox between the two rigs until I can afford to buy another powerbox (1st priority) and camera. I haven't had first light yet. That probably won't happen until late May / Early June. We are currently in galaxy season, as I write this in mid-April of 2025. I will use the FRA600 or our astronomy club's Celeston 14" Edge HD to image if any opportunities arise. They will be better suited for galaxies and my friend's shoulder will heal and he will want the FRA600 back. Looking forward to a super wide-field take on Nebula Season this year!

      Clear Skies!
      Ernie


      Tuesday, December 26, 2023

      Starting to share my images through YouTube

       No VLOGs for now

      Starting at after Christmas, I will be trying something new. I will be sharing my Astro Photos through YouTube, in addition to the methods of sharing I use now. As of the time of this blog post (late December 2023) I don't have any intention to create VLOG style videos. I will concentrate on slide show type videos, both in long form and the short form portrait videos that all the rage with the kids these days (clearly I watched too much David Letterman in college). 

      Let the "Year in Review" retrospectives commence:

      The first video will be a slide show of the images captured during 2023. I managed to capture 14 images in 2023. Lots of clouds and smoke. Other than one week in May, when I managed to image five nights in one week, I averaged about one night per month. Happy with the progress I've been making. I've benefited significantly from the experience of members of the Buffalo Astronomical Association, PixInsight classes at Masters of PixInsight, and Astrophotography community at Astroworld. 

      A collage of my Astro Photos from 2023

      A link to my Youtube Channel (http://www.youtube.com/@Erniej270) has been placed on the home page for this blog. Here's the "First" video: https://youtu.be/s2teiVHLWK0


      I will also be releasing each image as "Short". The first one is of Comet c/2022 E3 (ztf). Here's a link to the at video too: https://youtube.com/shorts/CsAdih8ufRw?feature=share

      Which images from 2023 do you like the best? Leave a comment and let me know. 

      Clear Skies!
      Ernie

      Follow

      Beyond the Stars: Revealing the Double Cluster’s Faint Hα Glow

      From a Shared View to a New Imaging Project The story behind this image began with a shared view through a telescope at our club’s September...